Making Soap From the Farm
We just made our first batches of soap here at Valentines Farm! Soapmaking is a great way to utilize many of the flowers and herbs on the farm and extract lots of their healing powers. The process can seem daunting and somewhat dangerous at first, but it is actually pretty easy – it just takes practice, patience and precision.
The basic formula for soap calls for an infused oil, a hard fat, and a caustic substance. In the past, the most popular caustic substance was potash, made from wood ash, and the hard fat was typically animal fat. One problem with potash is that it’s hard to accurately determine its strength, so soaps often ended up being pretty harsh on the skin.
In modern soapmaking, it’s more common to use lye (sodium hydroxide) and that’s what we use here on the farm. Lye, mixed with fats and oils, creates a chemical reaction commonly known as “saponification”, which literally means “turning into soap”. Saponification can take anywhere from 24-48 hours.
There are two routes to take when making soap, the cold process or the hot process. For the hot process, the combined fats and lye are put into a slow cooker. This helps the water evaporate faster. After it’s poured and set, it can be used immediately. The cold process follows the same initial process, but instead of putting it in the slow cooker, it is placed in molds and allowed to air dry for 4-6 weeks. The main difference between the final product of the cold or hot process (outside of the significant time difference) seems to be purely aesthetic – the hot process produces a more rustic looking bar, whereas the cold process allows for things like swirls and a shinier, smoother bar.
We chose the cold process for our first venture into soapmaking. We used Jan Berry’s Simple and Natural Soapmaking as a reference guide. We highly recommend this book. Jan lays it all out in an easy to digest format which is super easy to follow. We used her recipe for chamomile “almost castile” soap as the template to create calendula, mint, yarrow, and anise hyssop bars.
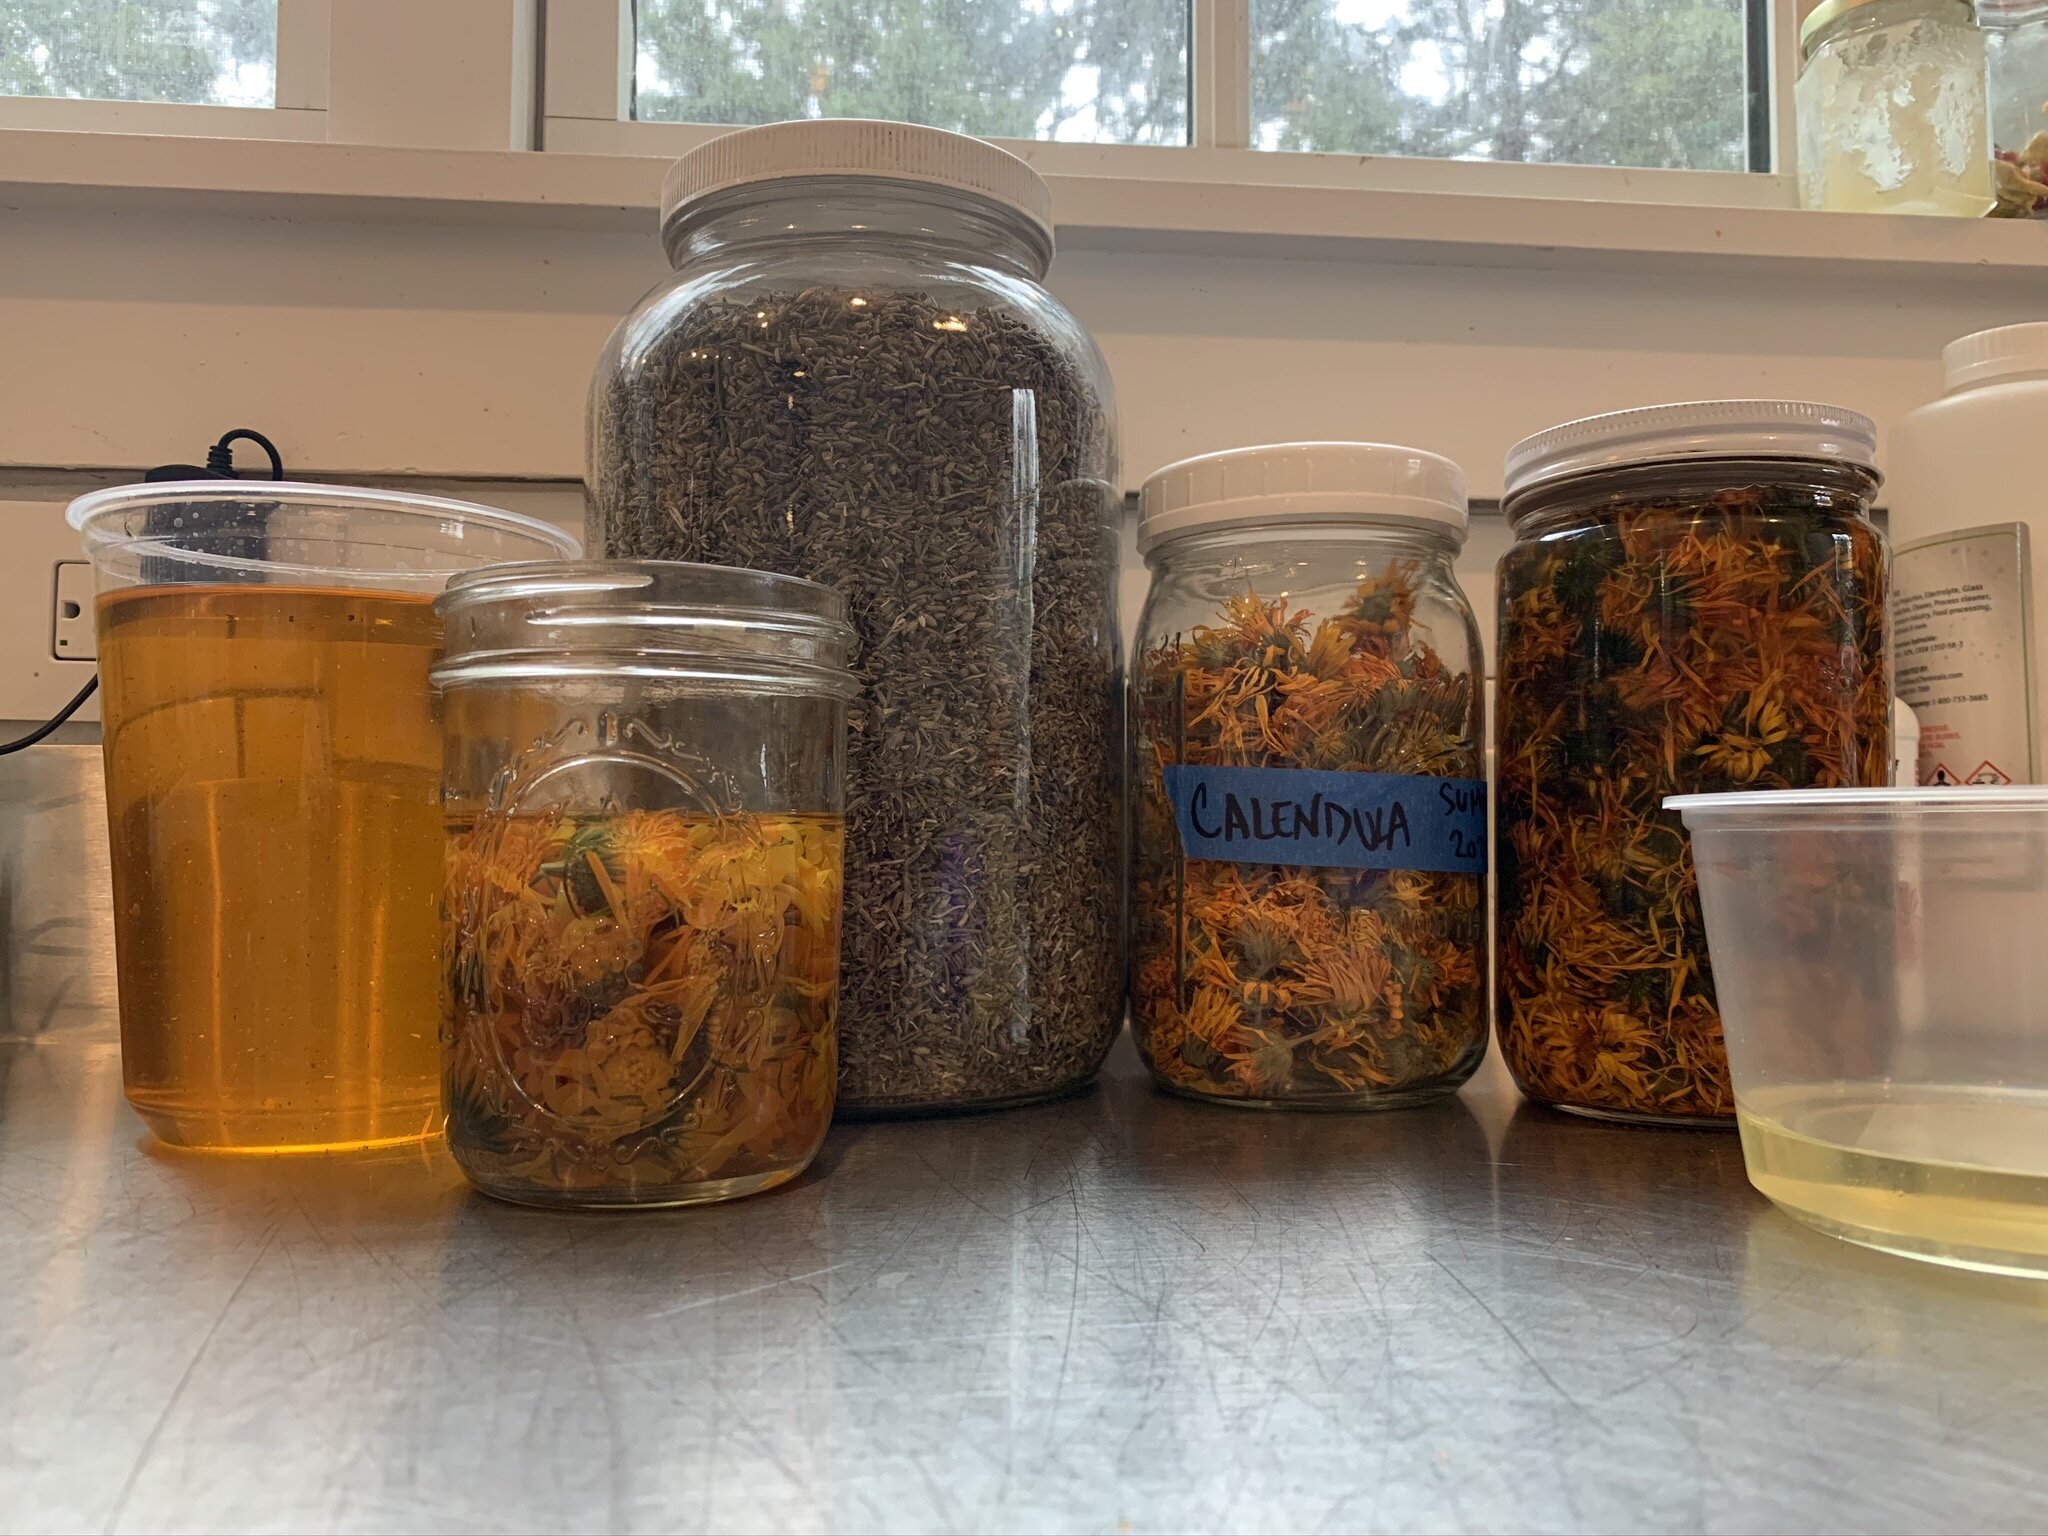
We began by infusing our dried herbs and flowers in olive or sunflower oil for 4-6 weeks then followed her recipe closely, simply substituting one infused oil and steeped tea for another.


Here is the Jan Berry recipe we used:
One quick note: All measurements are by weight. You must use an accurate scale to make soap. It’s all about precision!
Yield: 7 to 8 bars of soap, (2 lbs 10 oz of soap)
8.75 oz (248 g) cold chamomile tea
3.7 oz (105 g) *sodium hydroxide (lye)
26 oz (737 g) chamomile-infused olive oil
3 oz (85 g) castor oil
**essential oil, if desired (35 g of lavender is nice in this recipe)
Step 1: Make the Lye Solution
Wearing gloves, goggles and long sleeves, weigh the chamomile tea into a stainless steel or heavy duty plastic pitcher. I use an old Tupperware pitcher or heavy duty plastic buckets from the paint section of my local DIY store. Look for plastic with a recycle symbol number 5 on it and it should be good to use. (Never use aluminum utensils or pots when making soap as it will react adversely with lye.)
Next, weigh the lye into a small cup or container. Sprinkle the lye into the water (not the other way around or you might get a lye volcano) and gently stir with a heavy duty plastic or silicone spatula or spoon until the lye is completely dissolved. The temperature will get really hot and the chamomile tea may turn a shade of orange, but that’s normal. Work near an open window, outside or under an exhaust fan. Avoid breathing in the resulting strong fumes that linger for a few moments.
Set the lye solution aside in a safe place where it won’t get disturbed and allow it to cool down for around 30 to 40 minutes, or until temperature reaches around 100 to 11o°F (38 to 43°C)
Step 2: Weigh and Heat the Oils
Weigh out the olive and castor oils and heat gently until the temperature is around 90 to 100°F (32 to 38° C).
(You don’t have to be extra fussy with temperatures. Some like to make soap at room temperature, while others prefer even hotter temperatures than I use. There’s a wide range of personal preferences that work just fine.)
Step 3: Combine and Mix Until Trace
Pour the lye solution into the warm oils. Using a stick or immersion blender (not a handheld mixer) stir the solution with the motor off for around 30 seconds. Turn the motor on and blend for a minute or so. Stir for another 30 or so seconds with the motor off, then again with the motor on and so forth. Don’t run the stick blender continuously so you don’t risk burning out the motor and/or causing excessive air bubbles in your finished soap.
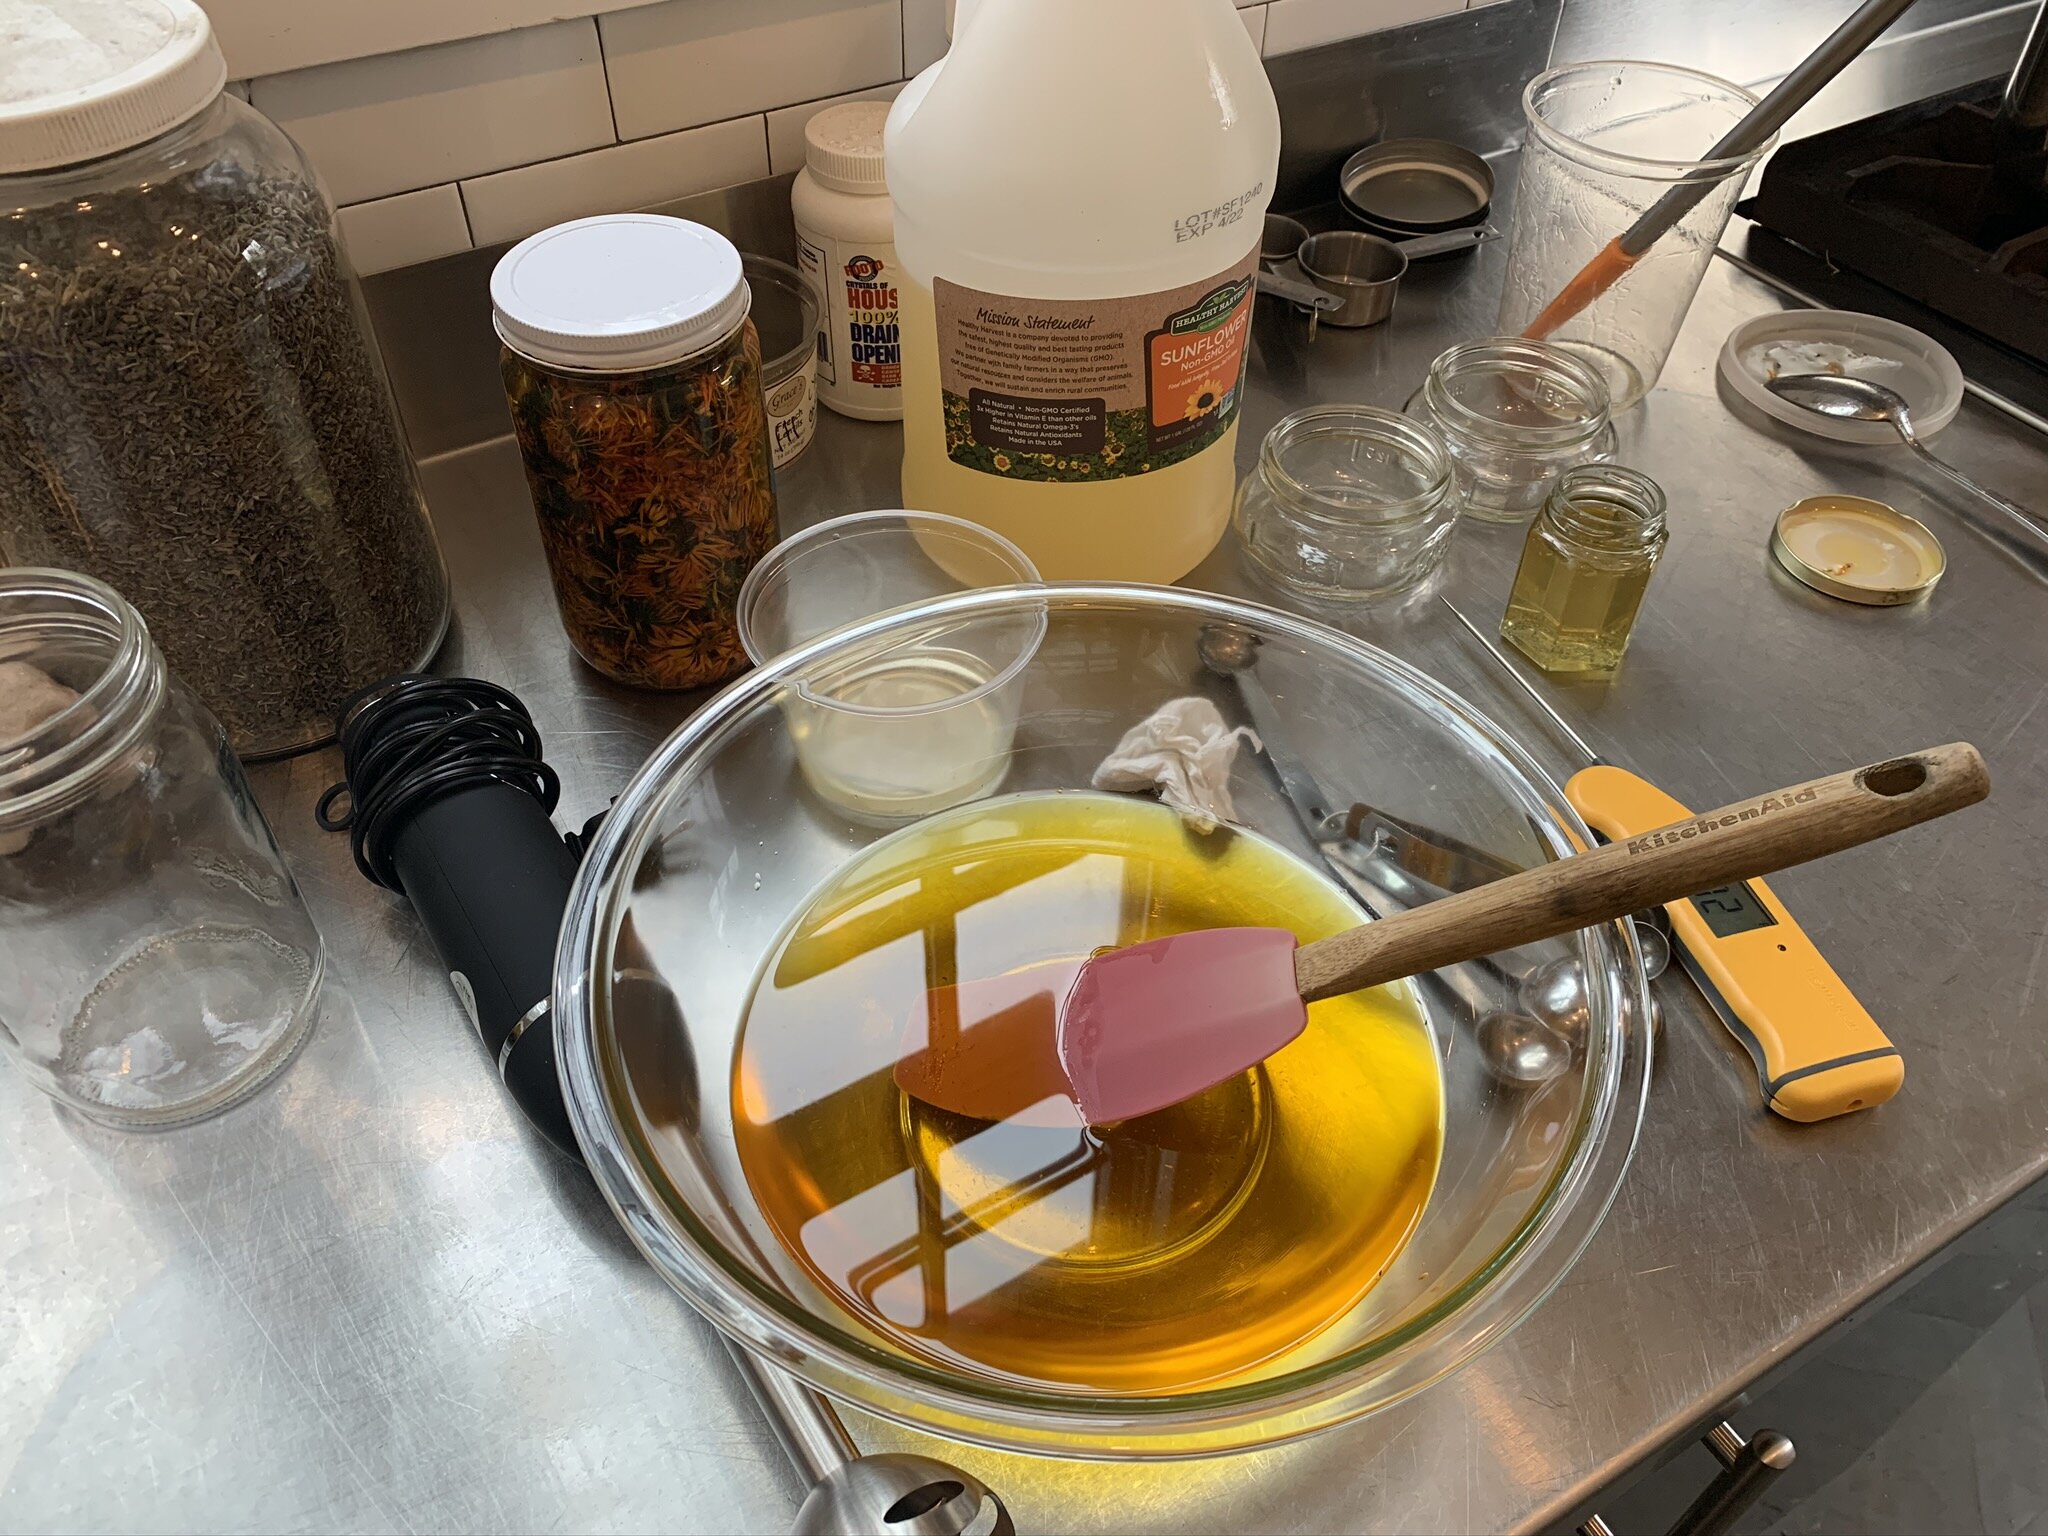
Alternate with this method until trace is reached. “Trace” is when your soap batter gets thick enough to leave an imprint or tracing, when you drizzle some of it across the surface. Above is a picture of a soap batter at trace.
Hand-stir in any essential oils, if using.
Step 4: Pour Into Mold
This is a cold process soap recipe, which means you don’t cook it or add any extra heat, so at this point it’s ready to pour into the mold.
After pouring, cover gently with a sheet of freezer or parchment paper, then a light blanket or towel to help hold in the heat.
Peek at your soap every so often. If you see a crack developing down the middle, it’s getting too hot, so move the mold to a cooler place in your house.
You might see the soap change from darker to lighter colors in spots and even take on a translucent, jelly type texture, especially in the middle. That’s all perfectly normal – it just means your soap is going through gel phase.
After 24 hours, remove the freezer paper and blanket/towel, then let your soap stay uncovered in the mold for 2 to 3 days or until it’s firm enough to release fairly easily. If needed, you can pop the mold in the freezer for 4 to 6 hours until completely solid, then try removing.
Step 5: Cure and Enjoy!
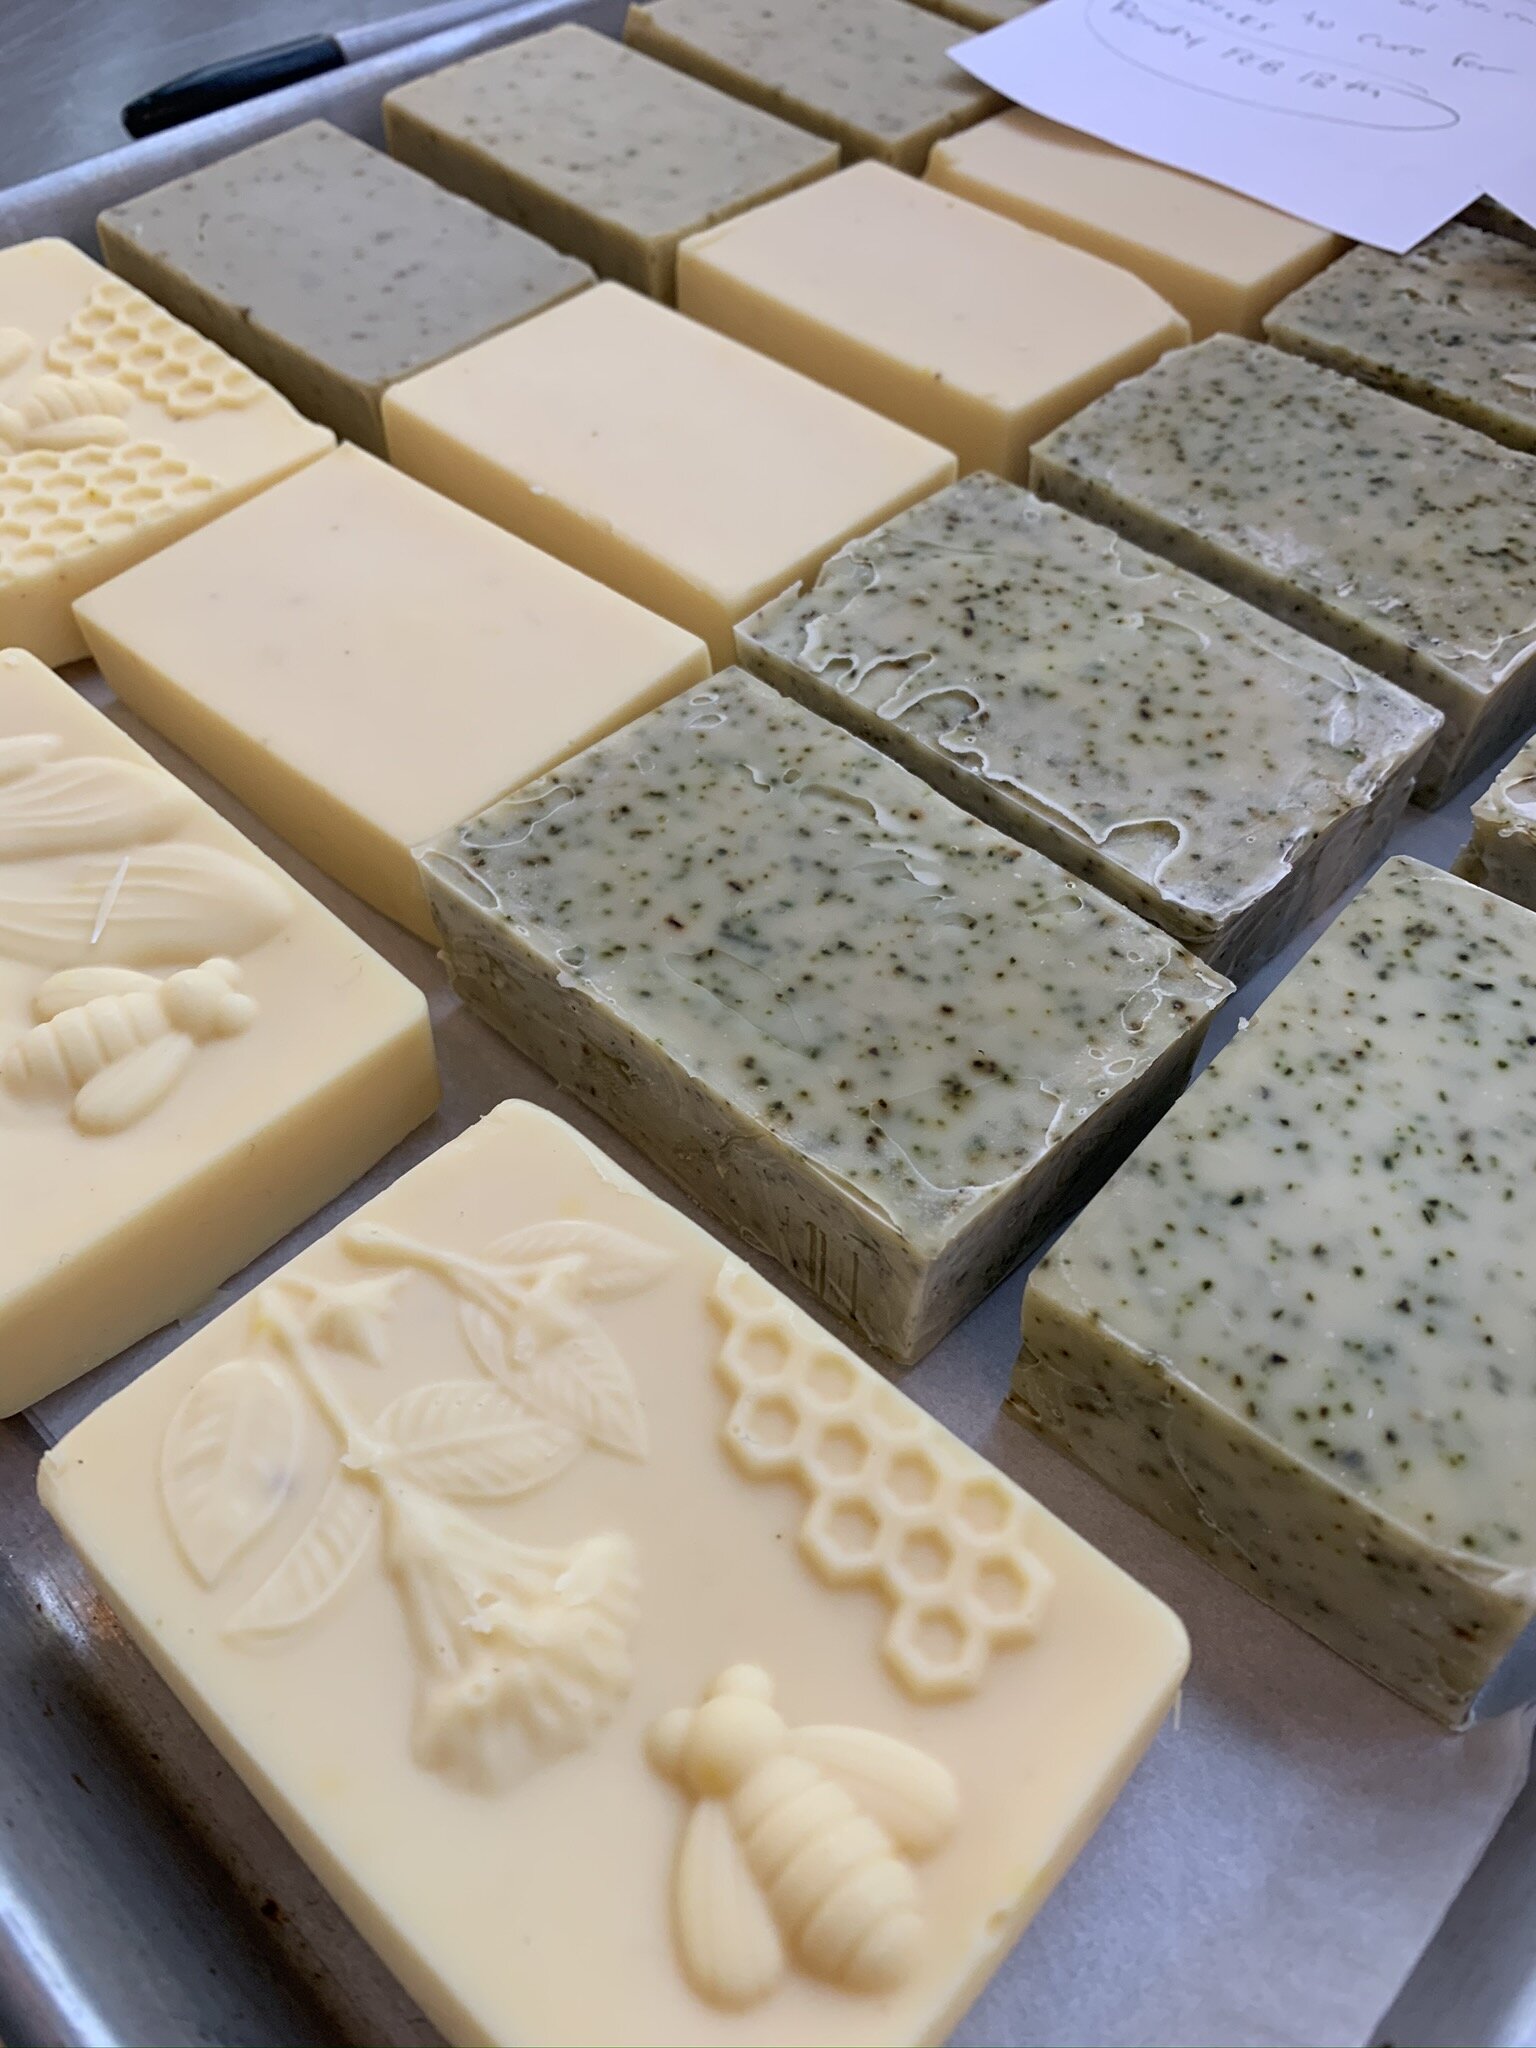
After unmolding the your soap, allow it to cure in the open air for a few days and then slice into bars.
Castile and “almost” castile soaps need lots of cure time in order to harden and develop a better lather. Cure this soap at least 6 to 8 weeks before using, though an even longer time is recommended.
Store your finished soap in a cool area away from excess heat, sunlight and humidity.
